Showing posts with label how to. Show all posts

Windows 101 : How to get the Windows 10 Creators Update

So you’ve been waiting and checking updates constantly to see if the Creators Update of Windows 10 is ready for you PC but until now you still don’t have it! Here’s how to force it in your PC.

1.  Download the Windows 10 Update Assistant HERE 

2.  Run the the Update Assistant to download the bits of the creators update and click Update Now

image

3.  The Update Assistant will check your hardware for compatibility.  If no issues found you may proceed with the update by clicking Next.

image

4. The Update Assistant will start downloading the Creators Update.  You may click minimize and continue other tasks that you are doing in your PC while waiting for the it to be completed.

image

5.  Once the download is complete the Update Assistant will notify you that the update is ready.  Save everything that you are working on and click Restart now.

image

Your PC will restart a couple f times to complete the update so be patient.  Have fun with the new creator’s update!

Windows 101: How to change the default start page in Edge

Someone posted a question in our user group, “How to change the default start page in Microsoft Edge?”

Here’s how:

1.  Click the ellipsis (...) on the upper right corner of your Microsoft Edge and click on Settings

image 

2.  Navigate on the Settings menu and click on the drop down list under Open Microsoft Edge with and select A specific page or pages

image

3.  Key in the page or sites you wanted to open automatically when you launch Microsoft Edge.  In this example I added my blogsite, needlehandler.blogspot.com and windows.com.  Click the save button or simply hit enter in your keyboard and you’re done.

image

Restart Microsoft Edge to see the changes.

image

Windows 10 101: How to Upgrade Windows 7/8.1 Using a Flash Drive

In my past articles I showed you how to get you Windows 10 FREE upgrade via the Get Windows 10 app on your Windows 7 or Windows 8.1. Upgrading to this option will be via the Windows Update and it will take a lot of time downloading Windows 10. Now I know most of you has several devices and upgrading via this method will be tedious since you’re going to do the same process on all of your devices. The easiest way is to download the Windows 10 image / ISO and transfer the installation files on flash drive and use it to upgrade your devices.

Now before everything, you need a 4-8 GB flash drive and a good connection to get the ISO from Microsoft’s download site.

The following steps will help you to get Windows 10 and upgrade all those devices of yours, your friends, and everyone else J

1. Follow the instructions on downloading the ISO HERE

Note: You may want to download the combined 32-bit and 64-bit installer which is worth less than 6 GB. Make sure as well that you are downloading the right ISO for your current version of OS, upgrade paths can be found HERE.

2. Transfer the installation files on a USB via Windows 7 USB/DVD download tool. Instructions HERE

3. Now that you have all what you need, insert the Windows 10 flash drive to your target PC and run the Setup.exe. This will start the upgrade and will guide you to the process.

Note: Make sure you are connected to the internet and your current OS (Windows 7 / 8.1) is activated before proceeding.  Windows 10 will verify and assess your OS to make sure that you are running genuine Windows.

image

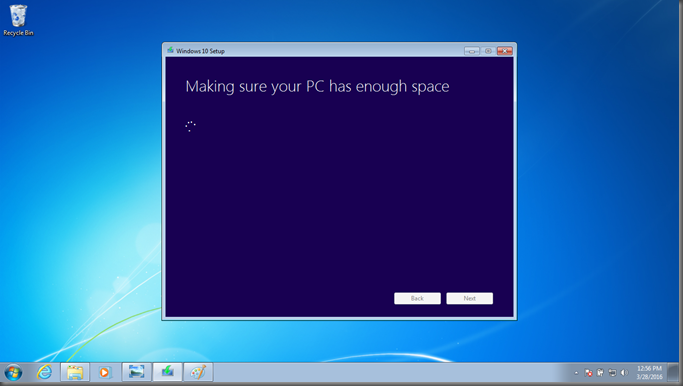
Below are some screenshots during the upgrade process

1

2

Note: To expedite the upgrade you may chose “Not right now” option and click Next.

3

4

Read and accept the License terms to proceed with the upgrade.

5

6

7

8

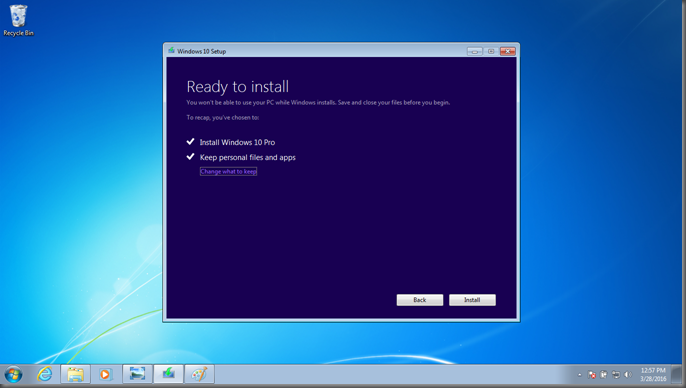
At this stage You may chose to keep files and apps, keep files only, or keep nothing, then click install to begin the upgrade.
9

11

12

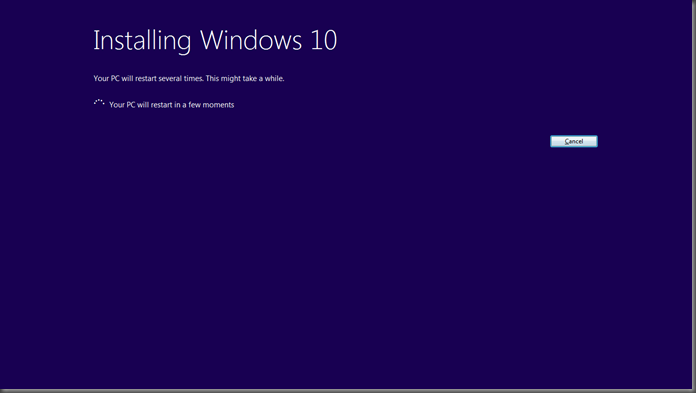
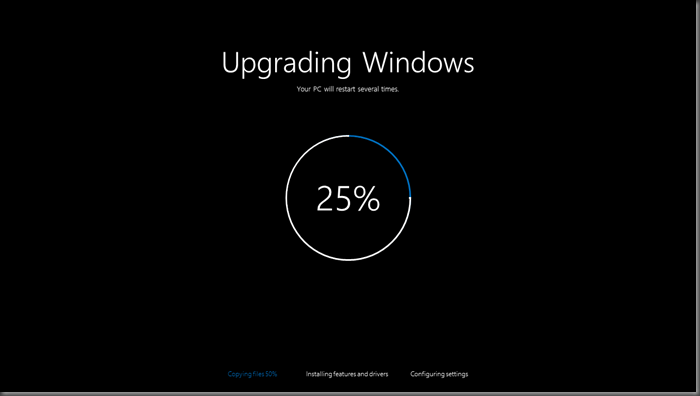
This is the actual upgrade process where Windows 10 will replace your current OS and migrate all user files, apps, and settings.  Your PC will restart several times on this stage.
13

The upgrade process will be around 1 – 1.5 hours so be patient.  Once upgraded, Windows 10 will be yours for the lifetime of your device.  Be sure to get the FREE upgrade on or before July 28, 2016.

Windows 10 101: Show or hide common desktop icons.

Since I began using Windows during the era of Windows 95, the default desktop icons is my go-to when I need to access my files, empty my Recycle Bin, or access the Control Panel.  As Windows advances and with the addition of keyboard shortcuts, if you notice only the Recycle Bin was left in the desktop by default.  but what if you still want the classic look where you can just mouse over and double click to access your files or settings in the Control Panel?  You can still get those desktop icons back, here’s how

1.  Click on the Start button then click on Settings.

image

2.  The Settings app click on Personalization then select  Themes on the left pane then click on Desktop icon settings

image

3.  No on the Desktop Icon Settings, tick or check all icons you want to show on your desktop then click OK.

image

There you have it! Your classic desktop icons back to its old glory sitting on the latest and the greatest Windows ever! #Windows10

image

How to Upgrade Windows Phone 8.1 to Windows 10 Mobile

After months and months of waiting and testing the Windows 10 Mobile as an Insider, finally the much awaited upgrade is here.  the announcement of the upgrade comes with a sad news that only select Lumia phones and some OEM phones can get the upgrade.  Below is the list of the supported phones.

image

Upgrading to the latest OS is easy, here’s how:

1.  Download the Upgrade Advisor app from the Windows Store

[TIP: Some phones can’t find the app in the store, try to change the region/ location of your phone to US and try it again]

image

2.  Open the Upgrade Advisor app to check for the latest update and follow the upgrade instructions in the app.  The app will configure your phone to make sure it is ready to accept the update.  Note: Before upgrading to the Windows 10 Mobile, you should have the latest Lumia Denim update. 

image

3. Go to Phone Update in Settings to download and install Windows 10.

image

Note:  The upgrade process will take up around 1 hour or longer depending on the speed of connection.

How to Upgrade Windows 10 Home to Windows 10 Pro

A friend of mine wanted to upgrade his Windows 10 tablet ( an HP Stream 8 to be exact) to Windows 10 Pro.  So I asked him to buy a Windows 10 Pro  product key so we can upgrade his tablet.

During the the Windows 7 era, there’s a feature called Windows Anytime Upgrade, where upgrading to a higher edition of Windows is as easy as clicking a link in the System Properties window, input a product key ( say Windows 7 Pro key) to upgrade.  That option is still is also available in Windows 8, also found in system properties window ( see photo below).  In Windows 10 it is somehow hidden, but still available should you want to upgrade by just using a product key.

image

Anyways after a day my friend came back to me with a newly purchased Windows 10 Pro key.  It’s easy to get a  Windows 10 Pro just follow the steps below.

  1. Open the Settings app then go to Update and Security.
  2. on the left pane tap or click Activation
  3. Screenshot (3)
  4. Click on Go to Store to launch the Windows Store.  You may buy a product key for $99.99 USD or if you have bought a key already just click I have a Windows 10 Pro product key.  Input the key, if Windows determined your key is valid it will upgrade you OS to Windows 10 Pro.
image

Note:  Please allow few minutes for Windows 10 to upgraded to Pro.  During the process Windows 10 will unlock some more capabilities of the OS such as domain join and client Hyper-V.

Creating a bootable Windows 10 USB

1. Download the Windows 10 ISO (details HERE)

2. Download the Windows 7 USB/DVD Download tool HERE and install

3. Insert at least at least 4GB (8GB recommended) flash drive to your PC

4. Run the application and browse the location of the ISO/ Windows 10 image, the click Next

clip_image002

5. Chose media type where you want to copy the Windows 10 installation files

clip_image004

6. In this case were going to use and 8GB flash drive then click Begin copying

clip_image006

Note: By clicking begin copying the tool will reformat / wipe out the files in the flash drive. Copying/ transferring the Windows 10 installation files will take up to 10-15 minutes depending on the speed of your hardware.

How to get the Windows 10 ISO

1. Download and run the Windows 10 media creation tool HERE and run the program

2. In the media creation tool, select “Create installation media for another PC

clip_image002

3. Select the language, edition, and architecture of Windows 10 image you want to download. Note: Edition will depend on the current Windows OS installed (see upgrade paths HERE). Architecture will also depend if you are running a 64-bit or 32-bit Windows OS, check your system properties just to be sure.

clip_image004

4. Chose if you want to transfer the Windows 10 installation files to a bootable USB or to save it as an ISO file then burn to a DVD later. (I recommend getting/ saving it into an ISO file so you have a copy of the Windows 10 image)

clip_image006

5. Click next and select the destination folder of the image to begin the download process.

How to Make IE as default browser in Windows 10

ieedge

With the debut of Windows 10 a couple of weeks ago, you may have noticed that IE or Internet Explorer was gone in the taskbar and replaced with Microsoft Edge as the default browser. Edge is a great and nice browser, but some sites particularly internal or corporate sites are coded to run in IE or requires IE for better rendering.

My boss once get irritated when he clicks a link in his email it will open in Edge, so he asked me how to bring back IE or make it as a default. To make IE as your default browser:

  1. On Cortana/ Search bar, key in and click "Default programs"
  2. Select “Set your default programs”
  3. On the left pane, look for and select Internet Explorer on the list and click set program as default and click OK.

image

TIP: For easy access search for Internet Explorer using Cortana/ Search Bar and drag it to the taskbar to pin it.

Windows 101: How to change your Screen Resolution in Windows 10

In previous versions of Windows changing your screen resolution is as simply as right-clicking on a blank space in your desktop> Screen Resolution then select your desired resolution in a drop down list in the Screen resolution Window.  In the case of Windows 10, it might be a bit difficult to look for this setting.

Here’s how to change your display resolution in Windows 10.

  • Right click on a blank area of your desktop and click on display settings.

 Screenshot (11)

  • On the display settings, click on the Advance display settings 

Screenshot (12)

  • Then select your desired resolution and click Apply.

Screenshot (13)

TIP: Alternatively, you can change the display resolution of each screen should your PC is connected to a secondary screen and is on a extended display.

Windows 101: How to share a link or page in Internet Explorer 11

imageWith the Windows 8.1 charms replaced by the Action Center and the modern Internet Explorer app being not around in Windows 10, you can still share your favorite pages in IE by doing the following steps.

  1. Press ALT key in your keyboard to access the menu bar in your IE11
  2. Click on File> Send
  3. Select if you want to Send the page via e-mail, Send link via e-mail, or create a shortcut to the desktop. 

TIP:  You can still pin your favorite sites in your taskbar by dragging the website icon into it.

Windows 101: Wow to turn Cortana to an Icon in the Windows 10 Taskbar

image

As all of you may know now, Cortana will be available in the PC.  Initially this intelligent AI is available to Windows Phone 8.1.  Now since Windows 10 will be available across all Windows devices (phones, tablets, laptops, 2in1, etc.) Cortana will be there, ready to assist you!

Cortana by default will be in a form of a search bar in your Windows 10 taskbar and will be occupying almost a quarter of your taskbar! It might be an inconvenience for you if you are using a device with a low screen resolution (1366x768). To reclaim that precious space occupied by Cortana, you can turn her into an icon in a few simple clicks.

image

Here’s how:

  1. Right click your taskbar to access the context menu.
  2. Select Cortana, then click on Show Cortana icon
image

After modifying that setting, Cortana will still be on your taskbar but in the form of an icon.

image

Windows 8 101: File History

File History is a new feature in Windows 8 that keeps track on the changes you made with your files in your Libraries, Desktop, Favorites, and Contacts folders.  This is the updated version of the Windows Backup and Restore that was introduced in Windows 7.  This is a great app if you want to track changes of your files, protect, or restore a previous version of your files.  File History will check changes in your files / documents and create a copy of the modified file in another location (external drive or network drive).  By default File history checks your files for any modification every hour and will create a copy of the modified file which you can easily restore anytime.

To Enable File History

  • In your Start screen, key in File History > Select on File History to open the File History window.  Make sure that an external media (HDD, USB Flash drive) is already connected to your device to enable File History

image

  • In the File History window, click on Turn on and File History will start to create backups / copy of your personal files

image

  • Alternatively you can manage / configure File History to set it’s behavior in saving your files and the duration of keeping the version of the files.  Click in Advanced settings in the left pane to modify the default settings of File History.

image